
Microsoft Teams Voicemail Instructions
Palomar College is transitioning to Microsoft Teams for its telephone service, enabling everyone with a Teams telephone number to utilize the voicemail feature integrated within Teams.
To set up Microsoft Teams voicemail for the first time, open the Teams app, navigate to the “Calls” section, click on “Voicemail,” then follow the prompts to record your greeting and configure your voicemail settings.
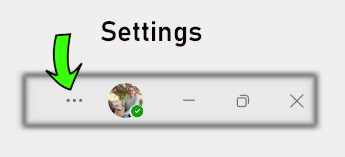
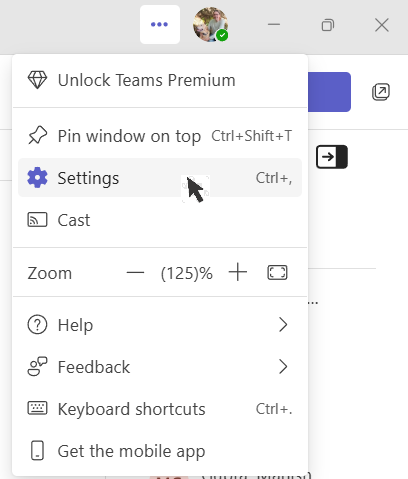
Once you click the ‘…’ button, a drop-down menu showing the settings will appear. Select it.
Select the ‘Calls’ menu and click the mouse button to select his option. Then, the calls window should open up.
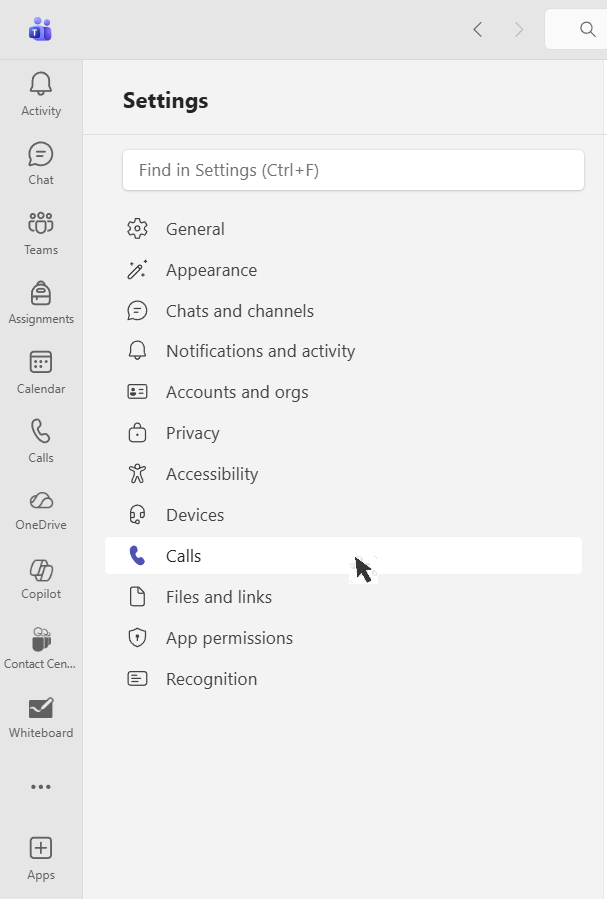
Figure 4: Use the scrollbar on the right to navigate to the “Manage Voicemail” section of the settings window. From here, you can “Record a Greeting” or “Edit Custom Greeting.” The latter uses text-to-speech.
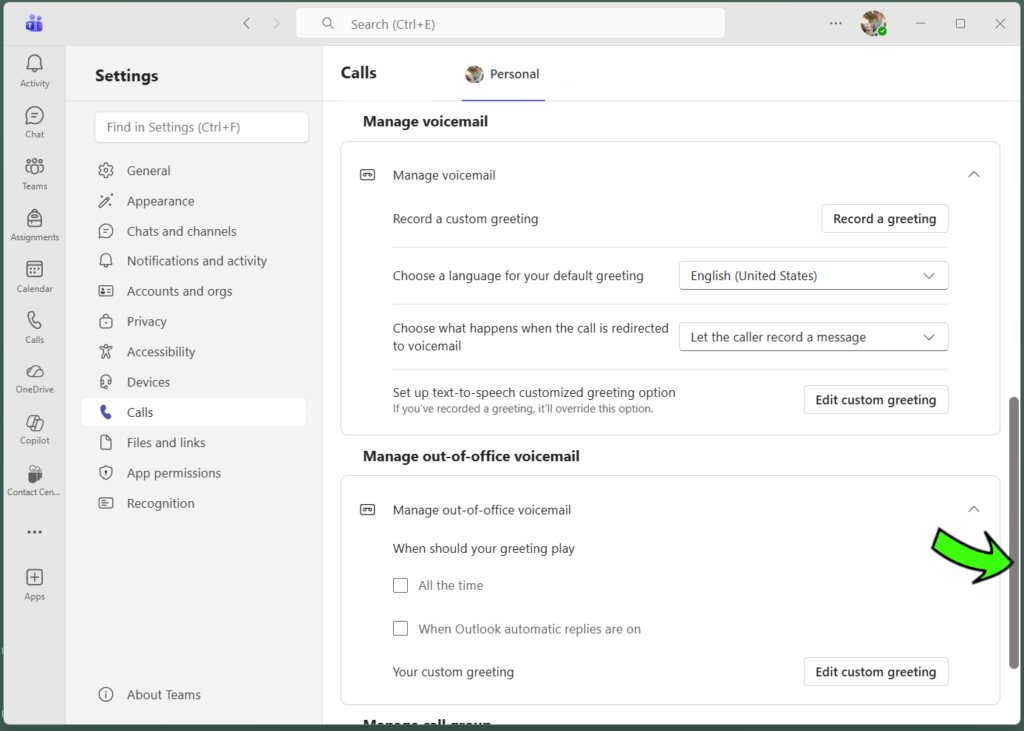

Note: The “Record a Greeting” option requires you to have previously configured a microphone and speakers. These can be built into your computer or can be from a headset with a mic and speaker.

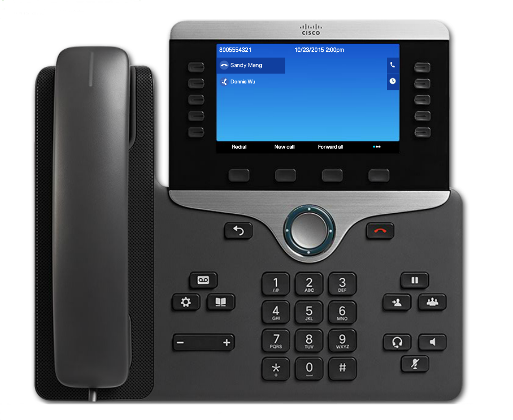
Cisco Unity Voicemail Instructions
If you have not received a new Teams number, your voicemail will continue to use Palomar’s legacy Cisco Unity Connection. Instructions on how to set up your account can be found below.
Cisco Phone User Guides
To get the most out of your Cisco phone, please review the relevant reference guides below:

Cisco 8851 and Cisco 8865 Phones (88xx Series Phones)

Cisco 9800 Series Phone (9800 Series Phone)
Once you are familiar with your phone model, the next step is to set up your new voicemail account in Cisco Unity Connection.
Setting Up Voicemail
Always press the # key after recording any prompt or message. If the # key is not pressed, the system will record dead air as part of your message. If your extension does not appear on the phone, you need to follow the instructions for “Creating a Virtual Voicemail Account.”
Setting up your voicemail is as easy as 1, 2, 3:
- Press either the “Messages”
 or “Tape”
  icon button located on your phone.
- Note: Pressing either of these buttons will access the voicemail for the first line listed on the Cisco phone. If you have been assigned a 5xxx extension, you need to follow the instructions for “Creating a Virtual Voicemail Account” instead of using these icons.
- Enter your PIN. First-time users will enter the default PIN. Your current PIN will be emailed to you when your account is first set up. If you lose your PIN, you can request a PIN reset from the IS Help Desk at helpdesk@palomar.edu.
- Follow the system prompts to:
- Record your name
- Record your personal greeting
- Change your password
Message quick-tips:
- To listen to messages, press 1
- To save messages, press 2
- To delete messages, press 3
Accessing Your Voicemail Through Your Phone
To access voicemail from home, including virtual voicemail accounts such as 5### accounts or a voicemail extension that is not appearing on campus phones, see below.
On Campus
- Dial extension 7112
- Enter your extension followed by #, when prompted for your ID (Note: your ID is your assign extension)
- Enter your voicemail PIN followed by #, when prompted
Off Campus
- Dial 760-891-7112
- Enter your extension followed by #, when prompted for your ID (Note: your ID is your assign extension)
- Enter your voicemail PIN followed by #, when prompted.